I have used many IDE environments over the past years ranging from emacs, pycharm, eclipse among others. Emacs used to be my favorite editor since I was able to customize it to my needs. For example, one of the things I loved about Emacs was its seamless ability to work on code in remote servers through the Tramp package. However, in a corporate career, you are mostly destined to work in local Windows environment and customizing Emacs to work with windows was becoming too much of a pain.
Recently, I switched over to Visual Studio Code (VS Code) which is slowly becoming my favourite IDE. It somehow strikes the perfect balance between working out of the box and customizability. Further, VS Code has strong interoperability across multiple languages. I recently had to start remote development in EC2 and I was worried I might not be able to customize VS code to perform remote development. However, it turned out that VS Code provided the best framework for such remote development through ssh. I’m documenting here the steps I look to ensure a seamless access to EC2 through VS Code in Windows 10.
Machine and Software Information
Local Machine: Windows 10
Remote Machine: Ubuntu 18.04 in AWS EC2
Steps to be Followed
- First, you need to install the Remote-SSH extension.
- For this extension, to work we will need an OpenSSH compatible SSH Client. Unfortunately, PuTTY does not satisfy this requirement and as a result we need to install Windows OpenSSH Client.
-
We can check if the client is installed in the local machine through the following windows power shell command.
Get-WindowsCapability -Online | ? Name -like 'OpenSSH*' # which should return output that appears something like Name : OpenSSH.Client~~~~0.0.1.0 State : NotPresent Name : OpenSSH.Server~~~~0.0.1.0 State : NotPresent -
If not present, we can install them using the following commands.
# Install the OpenSSH Client Add-WindowsCapability -Online -Name OpenSSH.Client~~~~0.0.1.0 # Install the OpenSSH Server Add-WindowsCapability -Online -Name OpenSSH.Server~~~~0.0.1.0 # Both of these should return output like: Path : Online : True RestartNeeded : False -
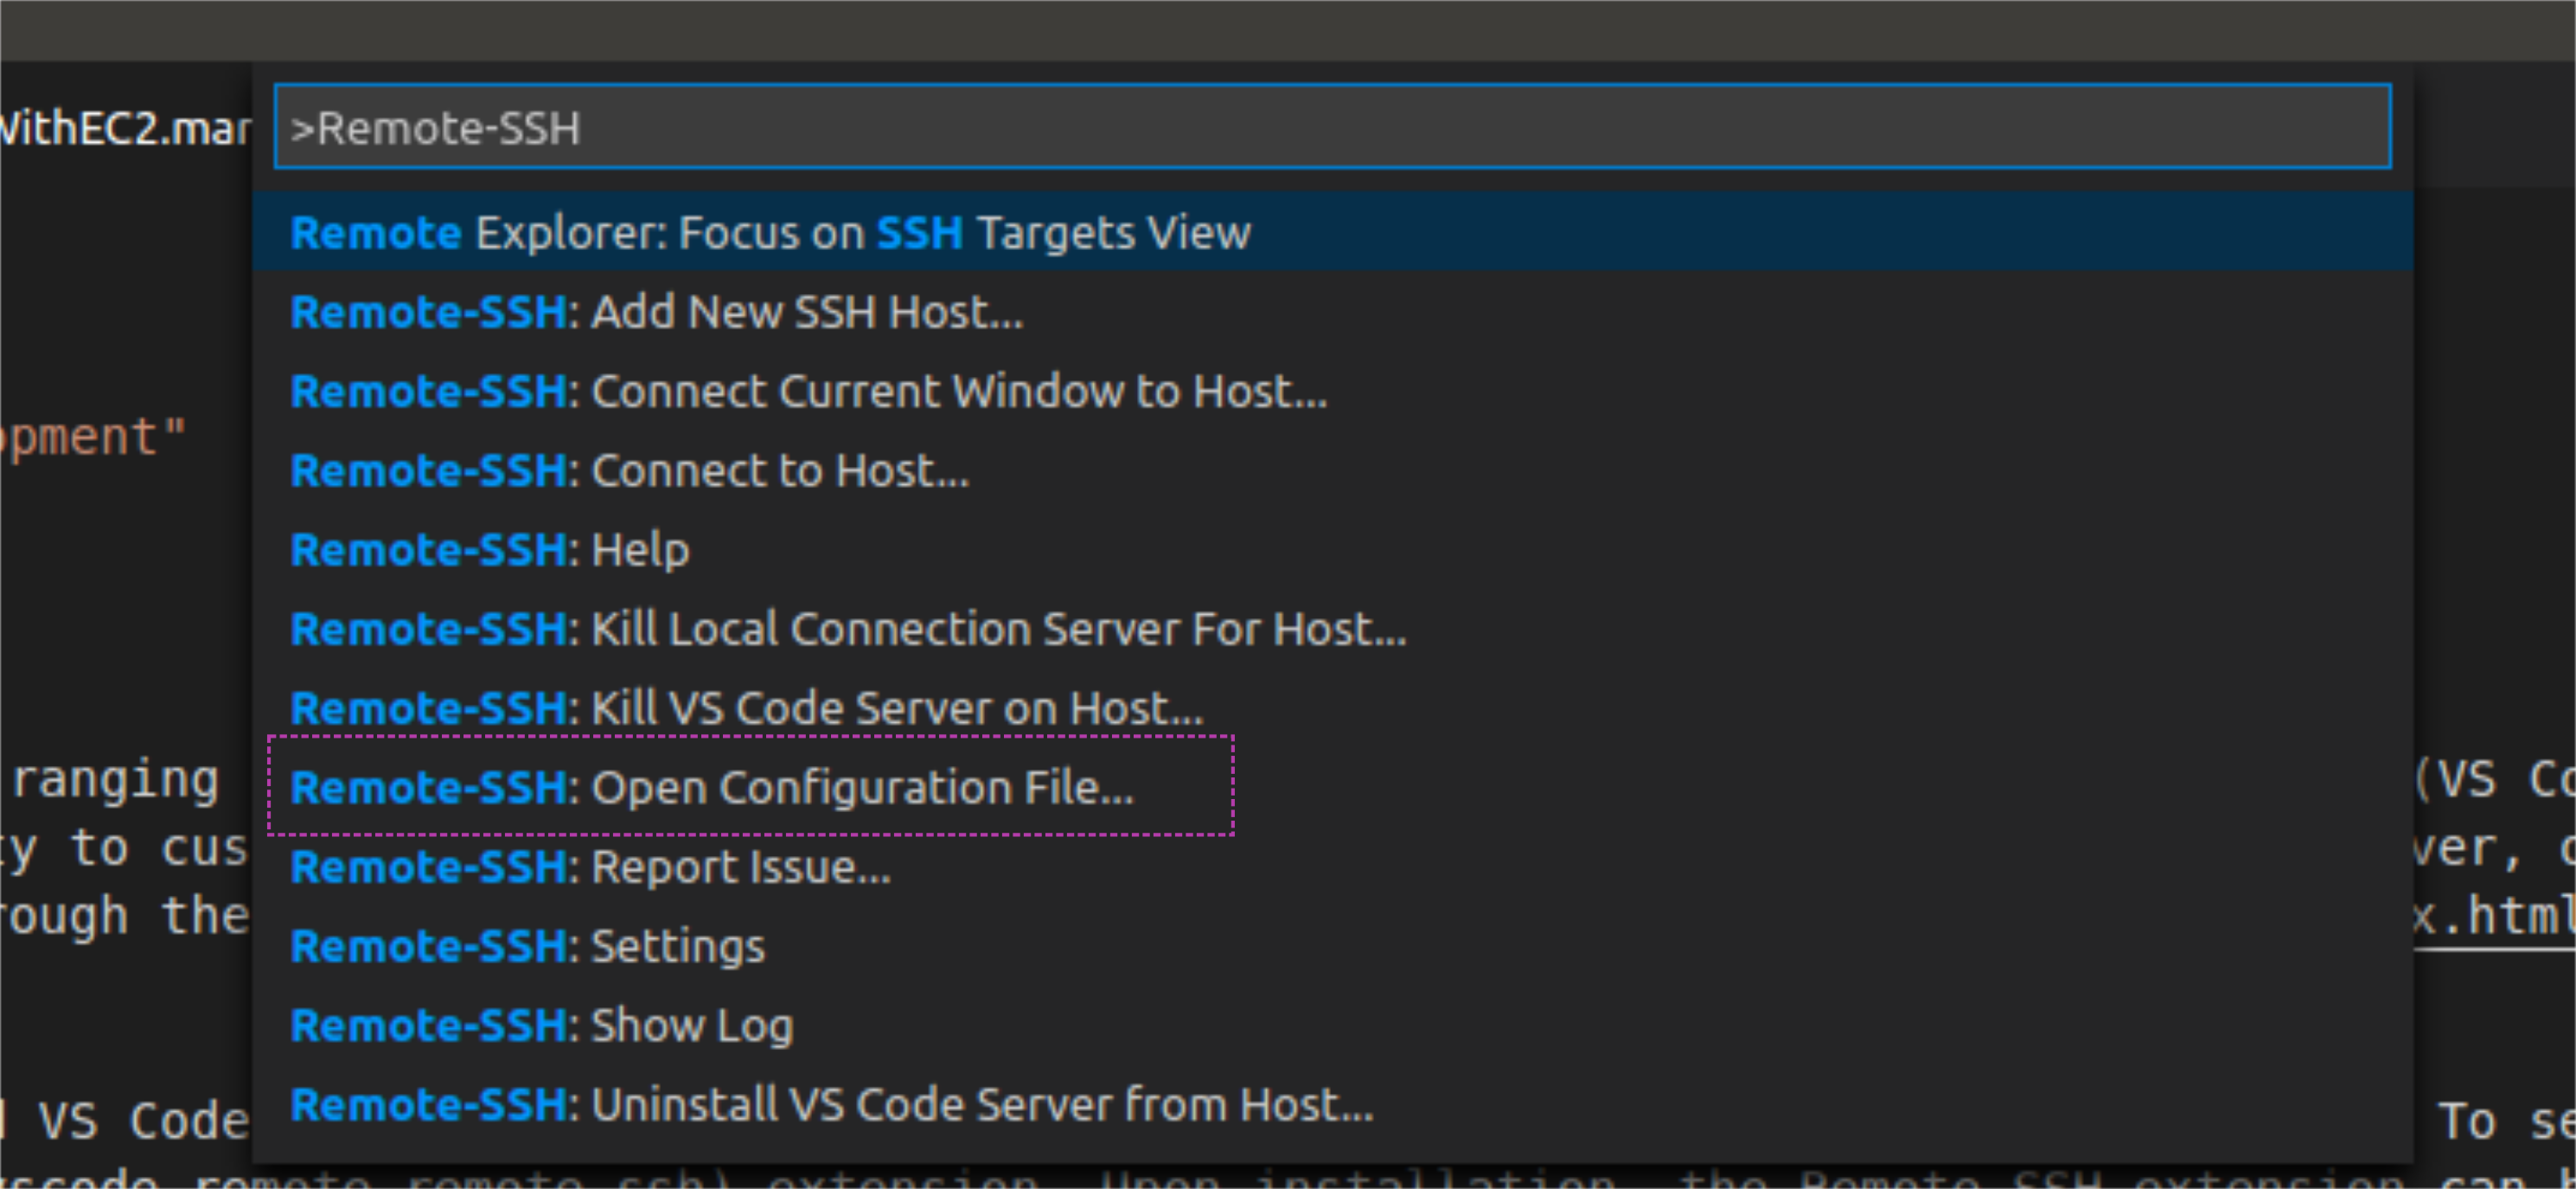
Now we need to configure the EC2 instance to be able to connect to it. From the command palette (which can be accessed through
F1orCtrl+Shift+P), selectRemote-SSH: Open Configuration Fileas shown below.
-
You need to access the ssh config file which is typically in
C:\Users\<UserName>\.ssh\config. Add the following information to the config file.Host ec2-aws HostName <hostname> User ubuntu IdentityFile `C:\Users\<UserName>\aws_keys\test-key-pair.pemThe Host is a name you provide to identify the connection. The
<hostname>is unique for an EC2 instance. This information can be obtained from browser based client or command line interface (CLI). Typically, I use an Ubuntu machine and connect to the machine with the usernameUbuntu. An important thing to remember is that the*.pemfile that is used to connect to the AWS needs to have restricted permissions. Without such restricted permission, VS Code will not be able to use it to connect to EC2. So, its best to place it withinC:\Users\<UserName>\so it can derive restricted permissions. -
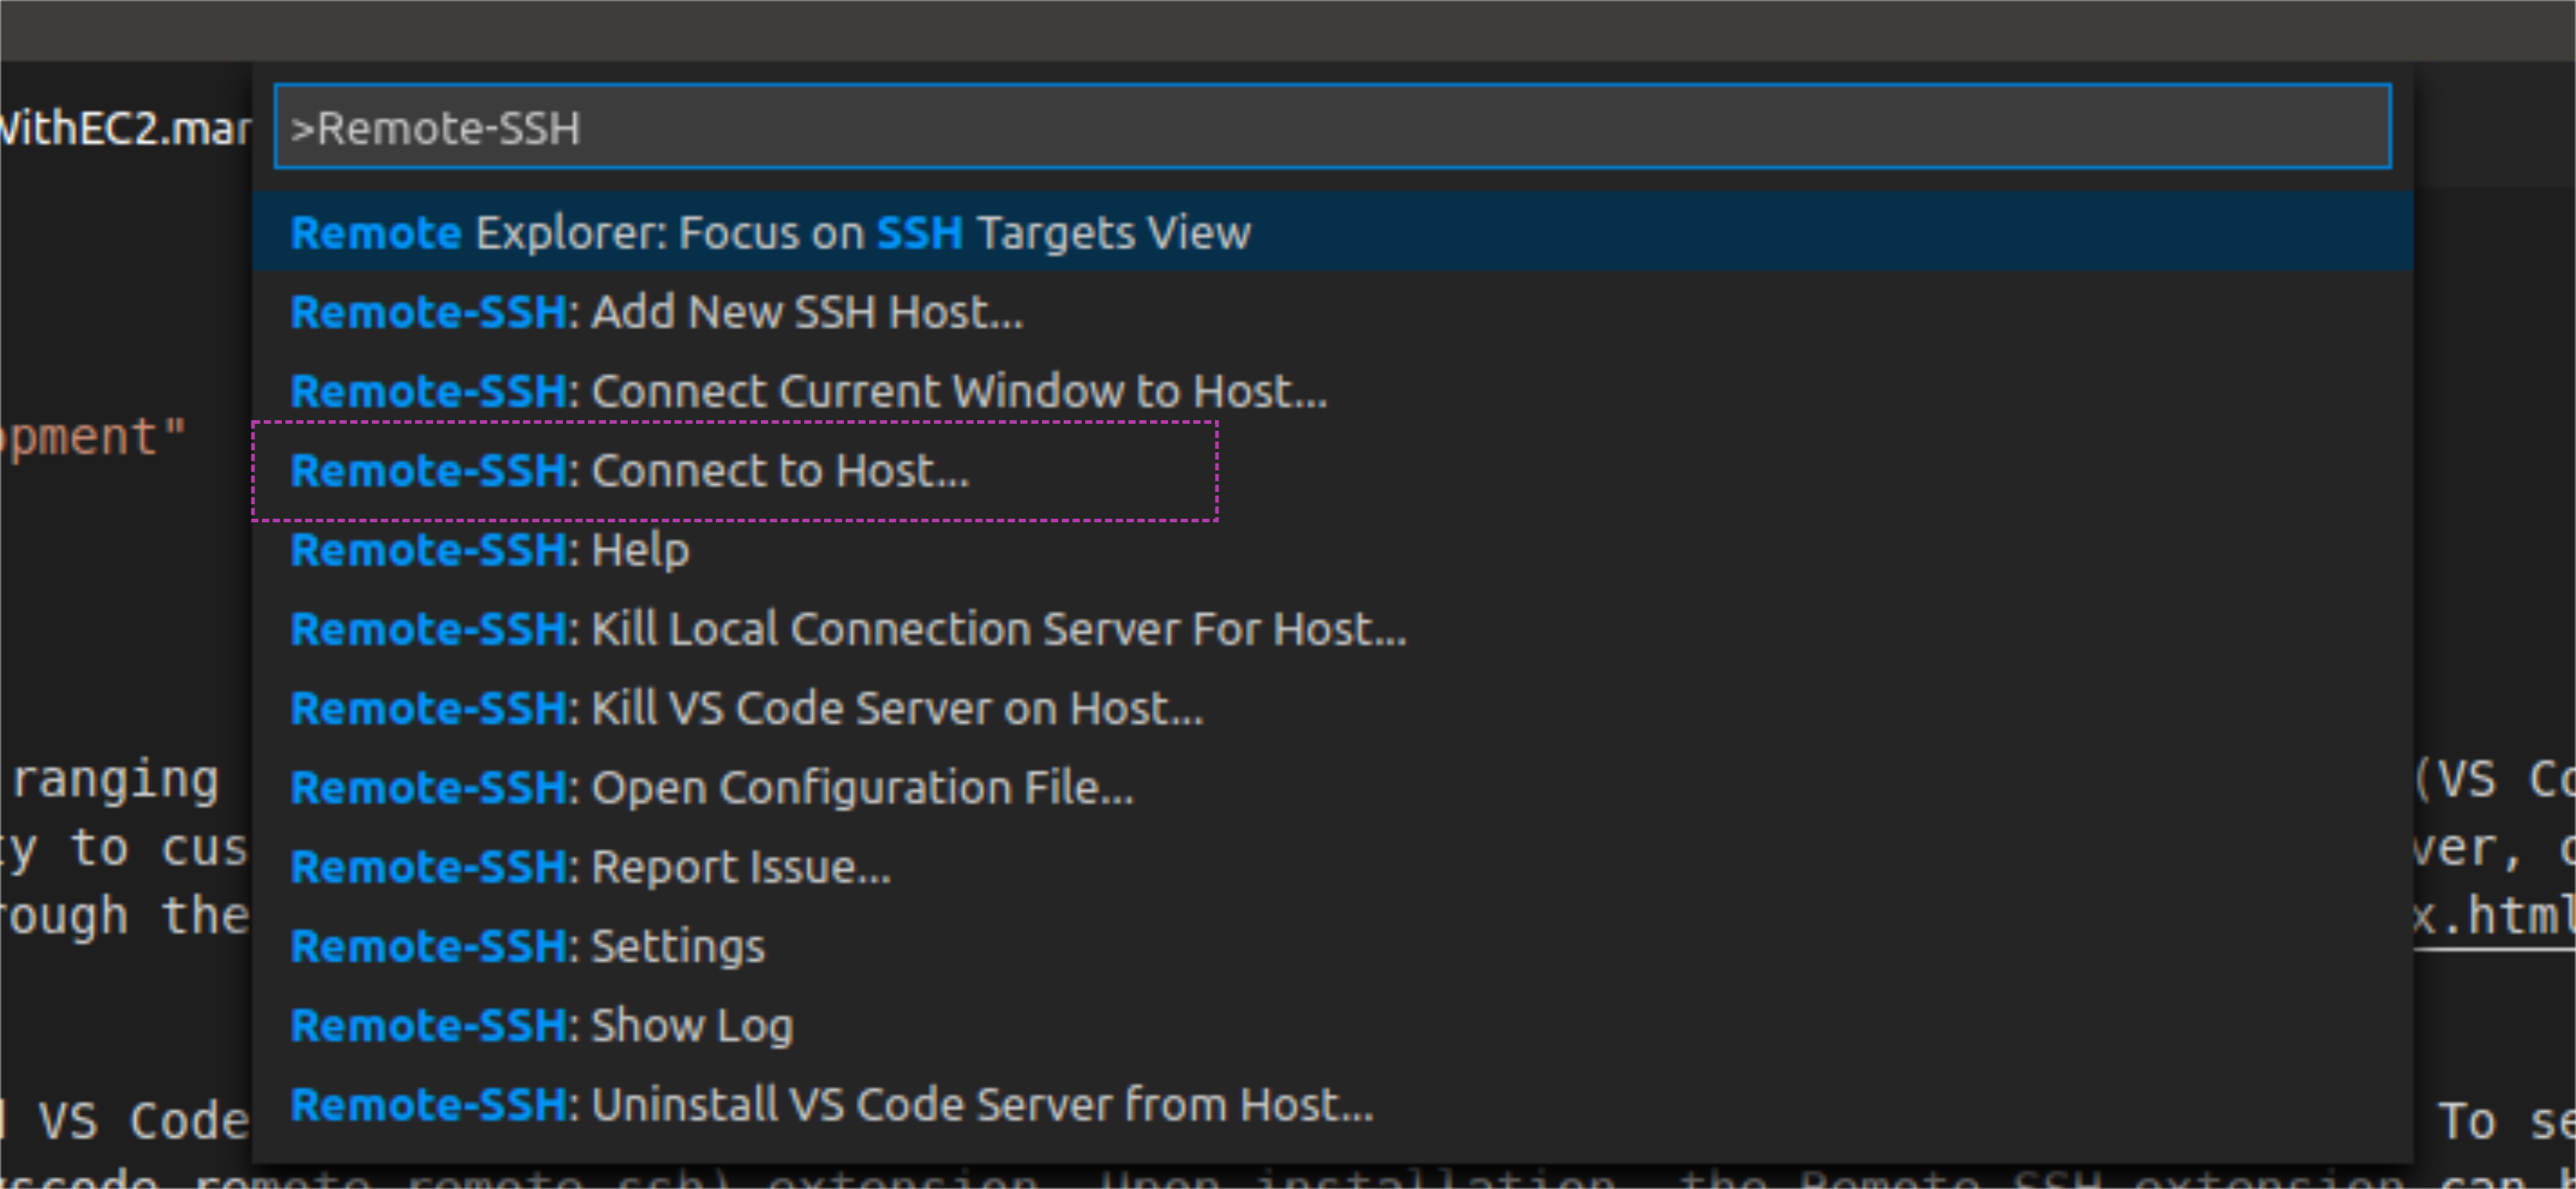
Upon configuration, we can connect to the EC2 instance through the
Remote-SSH: Connect to Hostas shown below
Conclusion
It is also a good practice to idenity the type of Remote machine (which in my case is Linux), since I think VS Code does customization based on this information. Now VS Code will provide you access to all the files/folders remote machine which you can use to do seamless remote development.
